Window-Ledge Seed Starting Systems
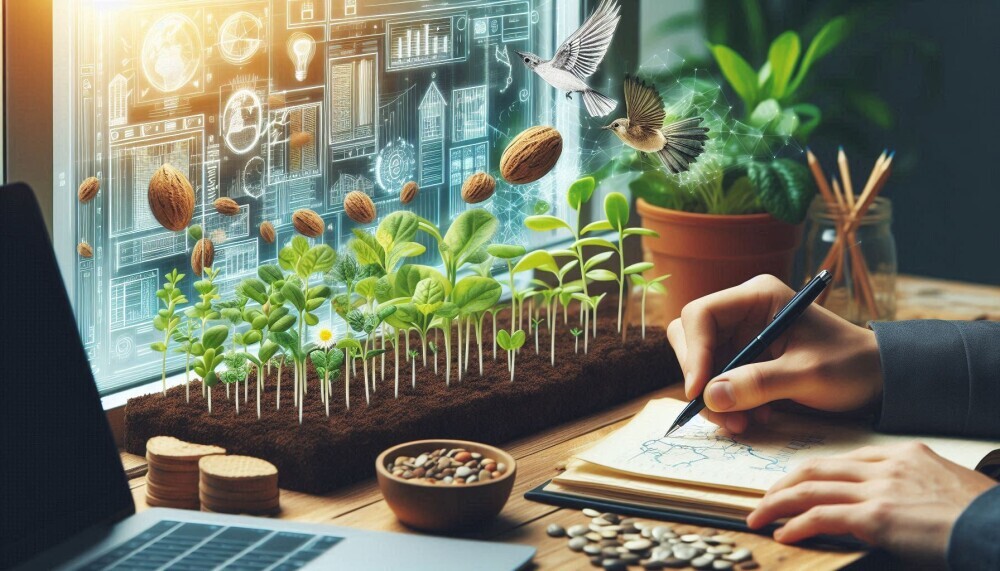
Window-ledge seed starting is all about transforming a simple windowsill into a productive garden nursery. By using readily available sunlight, you can kickstart your plant’s life journey right from the comfort of your home. Perfect for urban dwellers or anyone short on space, this method offers an exciting way to bring a little greenery into your life.
The beauty of using your windowsill is you don’t need extravagant gear to get started. A few containers, some quality potting mix, and a bit of patience, and you’re golden. Plus, the natural light coming through the window is usually just right for sprouting seeds. That means less fuss with grow lights and more reliance on good old Mother Nature.
Of course, before you get your hands dirty, a little prep goes a long way. Understanding the space, you have to work with will help you choose which seeds will thrive. Some plants love to stretch their leaves towards the light, while others do just fine in a cozy corner. Whether you’re dreaming of herbs, veggies, or decorative plants, there’s a seed that’ll love your window.
Folks often wonder if seeds left on a windowsill can truly germinate successfully. Don’t worry – I’ll address this age-old question and more as we explore how to make the most of this nifty method, keeping you informed and excited every step of the way.
The Optimal Window for Seed Starting
Choosing the right window can make all the difference when it comes to seed starting on your windowsill. It’s all about finding the sweet spot where your seeds get just enough light and warmth to start their journey.
One of the key things to think about is which direction your window faces. Southern-facing windows are often the holy grail because they tend to capture the most sunlight throughout the day. However, if you’ve got an east or west-facing window, you can still make it work. Morning sun from the east or afternoon rays from the west can also be pretty beneficial.
Window size and sill height can also play a role. A larger window can provide more light, which can be a game – changer for seedling growth. Just make sure the window isn’t too high that it puts your plants out of reach for regular care.
Even if your window isn’t the ideal candidate, don’t worry. Reflective surfaces like mirrors or whiteboards can bounce more light onto your seeds. If natural light is truly scarce, a small, supplemental grow light can mimic sunlight to give your seeds a fighting chance.
Each seed type has its own quirks and preferences, so check out what works best for the plants you’re planning to grow. Whether it’s heirloom tomatoes or a handy kitchen herb garden, knowing your seeds’ needs will set you up for success on your windowsill.
Do Seeds Left on a Windowsill Germinate?
Seeds have an amazing inbuilt ability to sprout given the right conditions, but naturally, the question arises about the viability of placing them on a windowsill. The answer is yes; seeds can germinate quite successfully on a windowsill under the right conditions. However, the trick is ensuring that those conditions meet the specific needs of the seeds in question.
Each type of seed may come with its own set of requirements. Some seeds need lots of direct light, warmth, and a humid environment, while others might be a bit more forgiving. Knowing the specific requirements of your chosen seeds can majorly influence their success rate.
Challenges such as inconsistent temperatures or possible drafts from windows can occasionally pose a hiccup in the seed-starting process. Yet, with a few tweaks like insulating windowsills or using a seed tray cover, these issues can be easily overcome.
The good news is some plant species have been championed by windowsill gardeners for their resilience and ease of germination. Herbs such as basil and parsley or legumes like peas and beans often top the list, thriving even on windowsills. Stories from fellow indoor gardeners often shed light on the adaptability of seeds, so gathering a bit of community wisdom can be a real confidence booster.
Step-by-Step Guide: Germinating Seeds on a Windowsill
Setting up your windowsill for seed starting is the first step to a thriving indoor garden. Begin by choosing the right containers. Small pots or seed trays work wonders, and they can easily fit on even a narrow windowsill. Make sure to use fresh, quality potting soil to give your seeds the nutrients they need right from the start.
- Planting your seeds properly is key. Follow the depth recommendations on your seed packet, as different seeds require different planting depths for optimal germination. This helps ensure that they get just the right amount of light and air to break through their shells.
- Space is a hot commodity on a windowsill, so make every inch count. Be mindful not to overcrowd your seeds; giving each enough room to breathe and grow prevents competition for resources.
- Maintaining an ideal environment is a balancing act but absolutely doable. Keep your seeds warm by placing them close to the window glass, but not in a draft. Consistent watering is crucial, so check the soil moisture daily. Seedlings need just enough water to keep the soil moist but not soggy.
- If you encounter issues like mold or pests, don’t panic. Removing excess water and ensuring your seedlings have proper air circulation can help. For unwanted guests like pests, try using organic solutions like neem oil to nip the problem in the bud.
- Once your seeds have transformed into sturdy seedlings, they’ll be ready for the next stage — but more on that in the following section. Keeping track of your process and reflecting on any hiccups can also be a valuable learning experience for future planting.
As an Amazon Associate, I earn from qualifying purchases
Growing and Beyond: Caring for Seedlings
Once your seedlings are up and thriving, the goal is to keep them healthy and strong. Transitioning them from tiny shoots to robust plants takes a bit of care, but the results are well worth it.
Keeping those seedlings hydrated is crucial. They need consistent watering, just like during germination, but watch out not to overdo it. Too much water can lead to root rot, so let the topsoil dry slightly between waterings.
Light remains important as your seedlings grow. Make sure they’re still positioned to catch ample sun or supplement with a grow light if needed. Rotating the containers a few times a week will ensure even exposure and strengthen their stems.
When it comes to food, a diluted, gentle fertilizer every couple of weeks can provide the boost your seedlings need. Look for an option that’s suited for young plants, which often have a specific nutrient profile.
The real excitement comes when your seedlings are ready for transplanting. Keep an eye out for signs they’re ready, such as when they’ve reached around three to four inches in height or start overcrowding the containers. Whether they’re moving to bigger pots or the great outdoors, take care during the transition to minimize shock.
Monitoring your seedlings’ growth over time and noting any changes helps spot early signs of issues while also giving you a satisfying record of their progress. Each milestone, from the first true leaves to the early stages of budding, is a testament to your green thumb.
By nurturing your seedlings from germination to full-grown plants, you not only create a beautiful addition to your space but also gain the rewarding experience of growing something from scratch.
✅ **Conclusion:
Starting seeds on your window ledge is one of the smartest and simplest ways to jumpstart your gardening journey—no backyard required! With the right essential tools and a sunny spot, you can grow everything from herbs to veggies right from your windowsill. Want to expand your growing space? Our guide to indoor herb micro-greenhouses shows how to scale up while staying compact. Just be sure to sidestep pitfalls by reviewing common mistakes in small greenhouses, especially if you plan to move your seedlings into a greenhouse setup. Good airflow is key — our tips on ventilation can help you avoid damping off and other seedling disasters. And once your setup grows, don’t forget the importance of long-term greenhouse maintenance to keep your green thumb going strong.
Leave a Reply